A recent need to have a compact, simple device setup that could connect to a streaming service and play music recently came up. The idea is to have something that could weather a power outage, network drop, or just start working when plugged in with power and ethernet. One station, no web interface, no keyboard or mouse. Just power, network, and audio out.
The Raspberry Pi has been around for over a decade and has all of the necessary components to do this on the standard Pi 1/2/3 series. Pi W and Zero models would require additional hardware to output sound or use a wired connection, but can work.
I chose to try something first on an Pi B+ and later on a Pi 3. The B+ worked really good, especially considering it’s age. I’ve had this unit since 2012 and it’s still competent at doing basic tasks. Playing music while running a web server? Easy.
Volumio is a free, easy-to-install operating system package that suits the Pi well. It’s mostly used by audiophiles who pair a Pi with an external sound card or DAC. It can stream local media, cloud sources, and some streaming services. It will also fit on a somewhat small sized SD card, which is also nice.
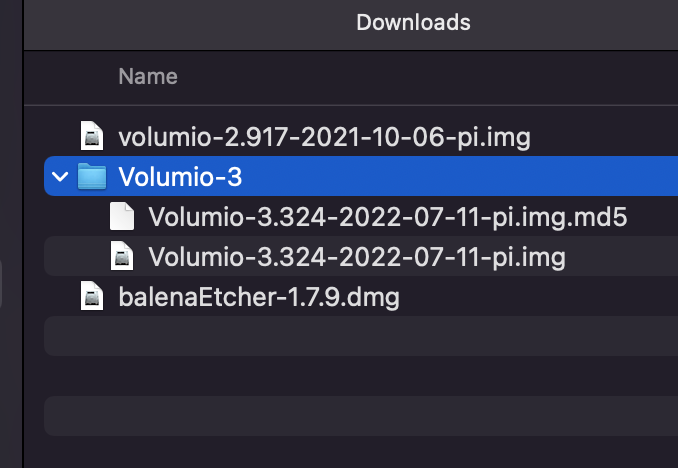
Installation is simple from the Volumio site, but version 3 complicates things. Version 2 supports a plugin that makes this task easier. I’ll include instructions for both. Download the latest version of Volumio from the website, or get the final version of Volumio 2 from here: https://updates.volumio.org/pi/volumio/2.917/volumio-2.917-2021-10-06-pi.img.zip
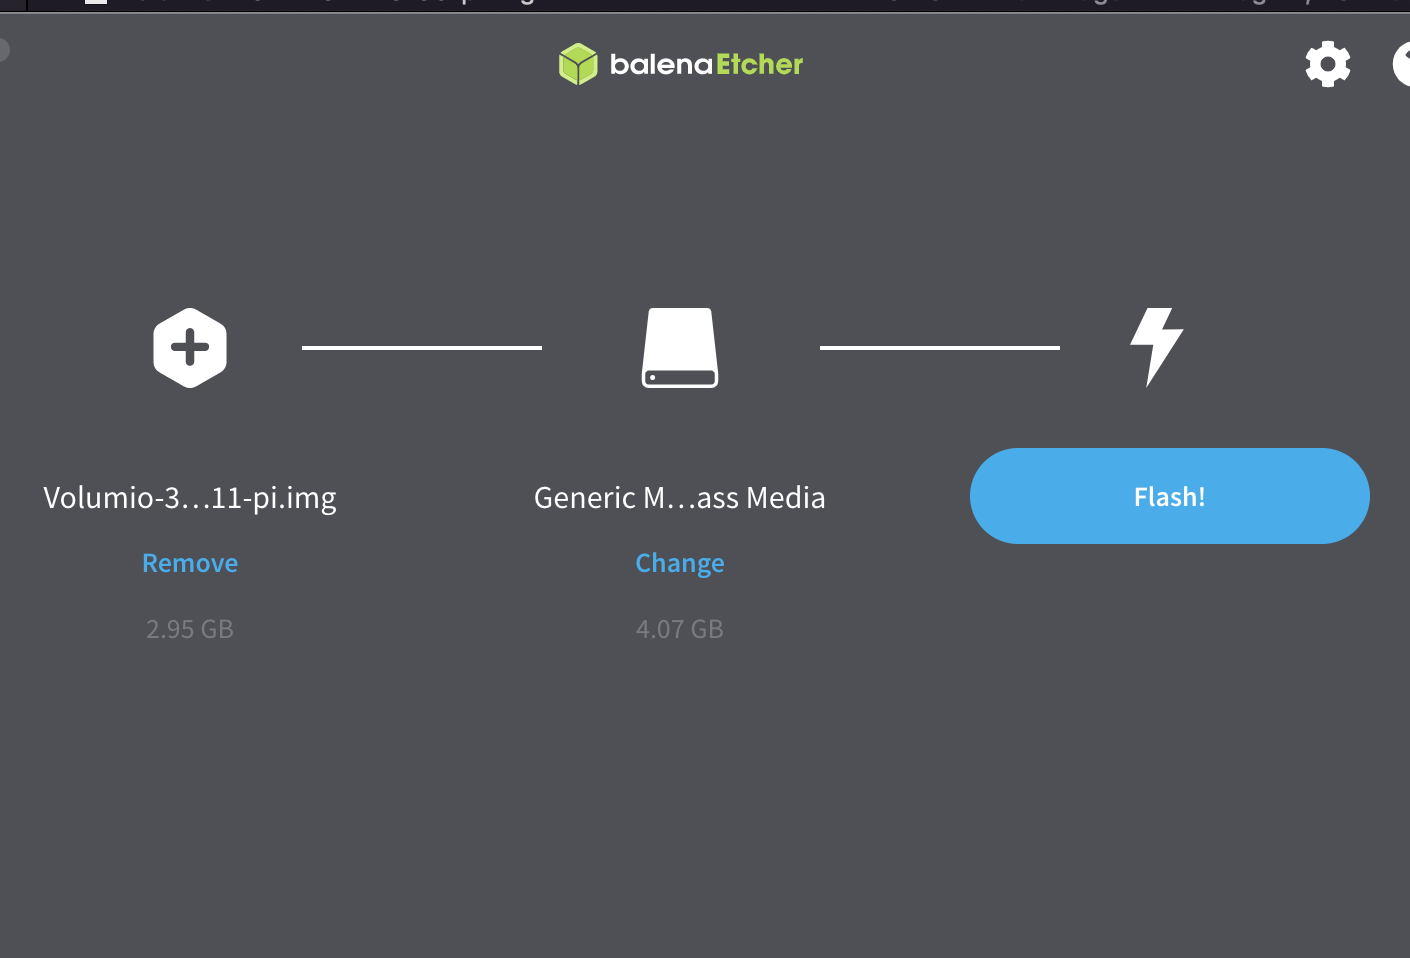
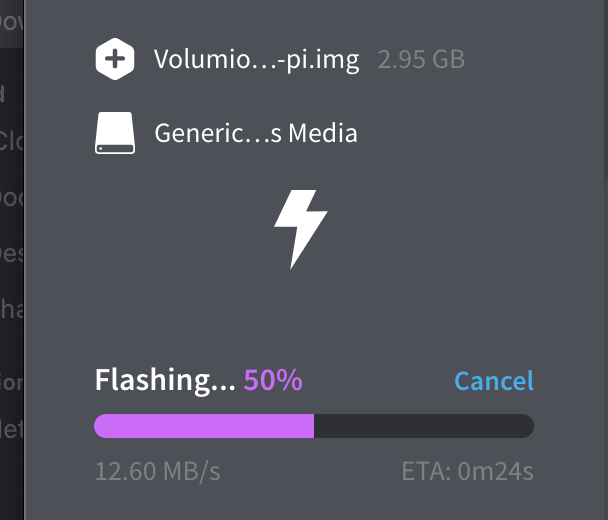
A utility on macOS like Balena Etcher or Win32DiskImager on Windows can get the OS installed in minutes. Once booted, you visit a web page hosted on the Pi running Volumio on the LAN. Usually it will resolve to http://volumio.local but finding a local IP address is more reliable in my experience. YMMV.

Once booted, name the device if you want it to do something else and pick your sound output. This setup will be using the 3.5mm audio jack on the Pi by default, but testing with two USB sound cards has been successful without changing the output after full setup.
Once you’re booted up and running, let’s go find out how to get a stream loaded.
In Version 2, let’s navigate to Plugins, then select the Miscellanea option under Search Plugins, then scroll down to AutoStart. Install it, then under Plugins, Installed plugins, make sure AutoStart is on.

Navigate on the left main menu to Web Radio. Look for the My Web Radio option but don’t click on it. All the way on the right side look for the three vertical dots and click on it, then select Add WebRadio. Name the new entry, and paste in a URL to a .m3u for your favorite streaming source.
Test playing the stream and make sure it works. If you want to use an external USB sound card or DAC, go into Settings and Playback Options, then make sure the Output device is right. If you change it, save it after.

Test again!
Now, with the audio playing from your stream, try restarting the Pi. Do it nice the first time, from the web interface, and make sure it works. If it doesn’t, double-check that AutoStart is enabled. If it does, let it keep going and then pull the power. Mean, yes, but we’re testing here…and see if it boots and plays.
Version 3 doesn’t have a plugin like AutoStart, so we have to get a bit hackish. Buckle up!
First, navigate to the address for your Pi and add a /dev to the end. This gets us into the developer menu where we can do fun things. The only setting we need this time around is SSH, so enable it. Don’t close that tab, because we’ll be back for something else including disabling SSH.

We need to use this neat plugin from Github that a user made. Go to this URL and have a peek around to make sure it’s not going to mine dogecoin on your pi, then either launch PuTTy, Terminal, or an equivalent and SSH to your Pi. “ssh -l volumio ipaddress” and password is “volumio”.

Look to this guide and follow along: https://volumio.github.io/docs/Plugin_System/Plugin_System_Overview
OR try “git clone https://github.com/lukeIam/volumio_custom_autoplay” to get the repository, then cd volumio_custom_autoplay, and then “volumio plugin install” to get the plugin installed.

Follow the above instructions to add a Web Radio stream and start it playing.
Go back to the web dev interface, as in ip/hostname plus /dev, and copy the whole Player State entry. Remove the /dev and go to the Plugins entry on the left side, go to Installed Plugins, select Custom Autoplay, then Settings. Make sure the plugin is enabled, then paste that stuff into the Command box and click Save. Restart the Pi and see if it works!

The Pi B+ and Pi 3 work great and are very competent devices for this simple task. Imagine a situation where you may need an audio stream, always the same for a while, but that just works. Coffee Shop, garage, lounge, man cave, conference lounge…you get the idea.